Two weeks ago I started collaborating weekly with makeup artists on Instagram live. They walk me through a look they created for me, using products I own at home, and then I take pictures. The first time I only took pictures with my phone which I highly regret, but from now on I’ll make sure I use my camera and take time to edit and mildly retouch the pictures (I am neither a photographer nor a retoucher haha) so I can take advantage of being able to shoot beauty looks during confinements, thanks to my adorable makeup artists friends!
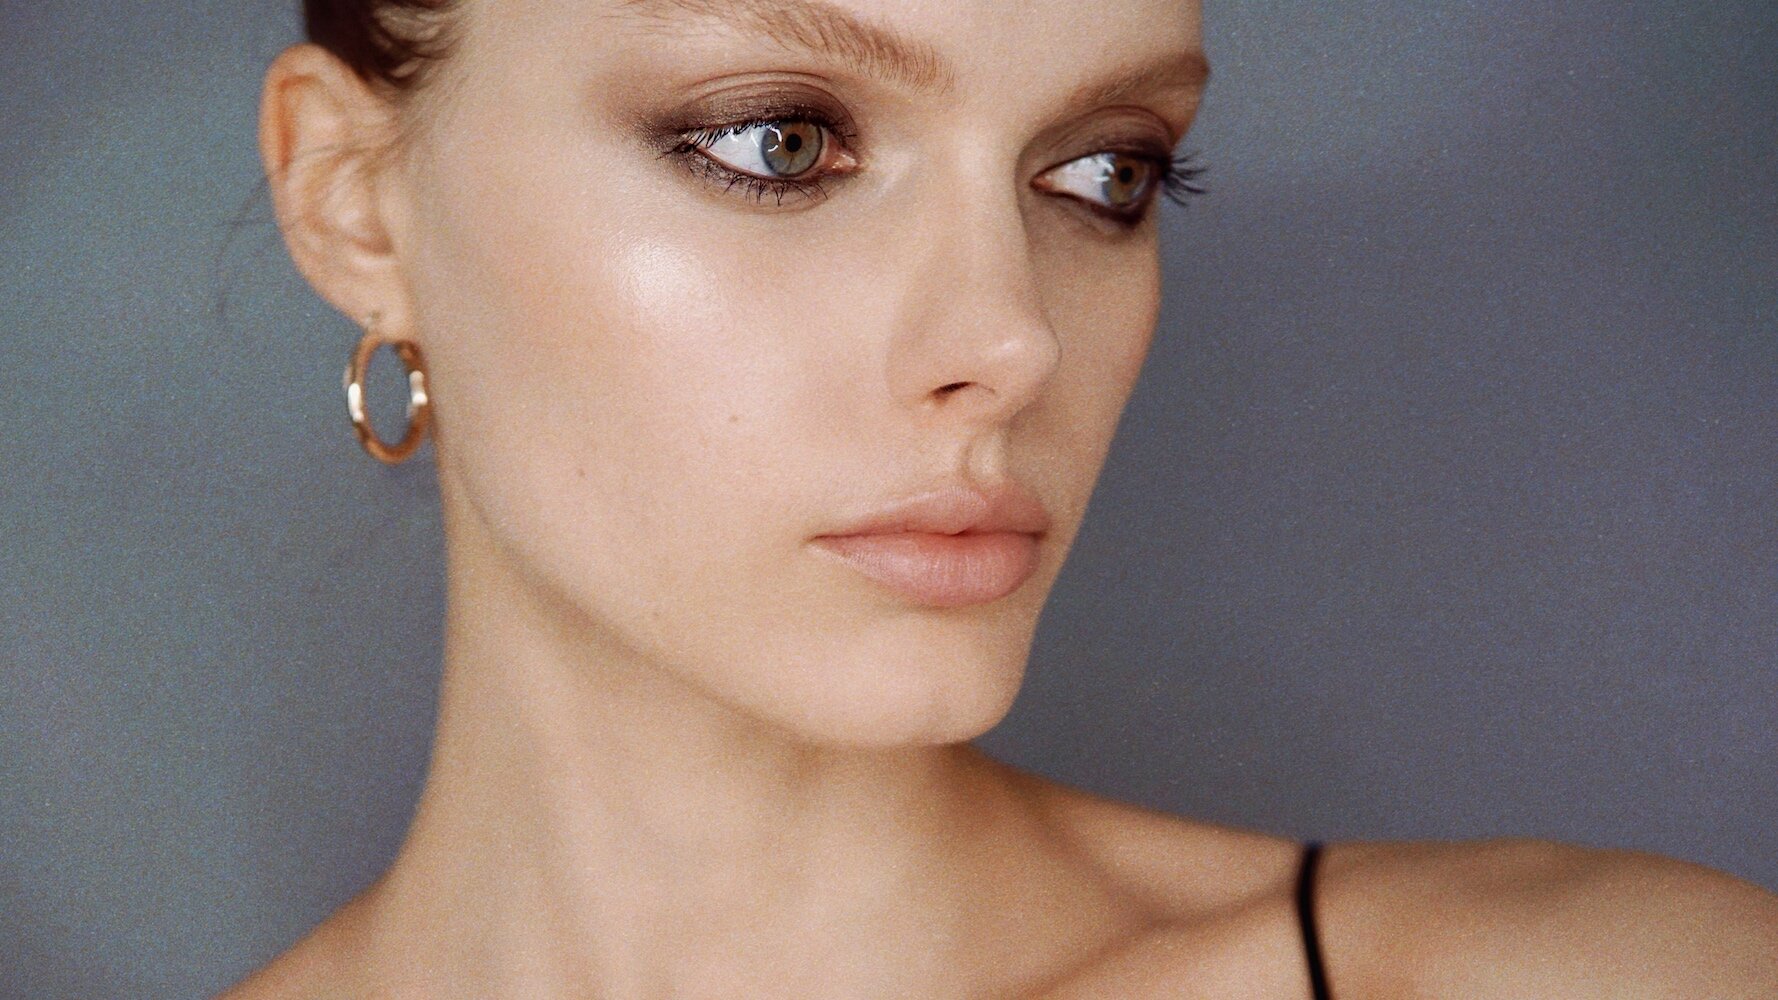
This time I asked my friend Alex to choose a look for me, and she decided to do a proper smokey eye as a lot of people are afraid to try this when, in fact, it’s kind of easy. She taught us a few tricks that change everything for a smoother look, like the use of skin color eyeshadow (or translucent powder) before starting the smokey eye so everything blends perfectly. She also told us to not be too precious, as the fun of the smokey eye is to not have to be perfect! Makeup is playful and shouldn’t be overthought ;).
I will do this look again on my Amazon livestream later today because I forgot to save the live video from instagram, but I’ll briefly describe the steps in post. My Amazon livestream will still be available when it is over, but I won’t do it as well as when Alex coached me ;)!!
Find the products we used at the end of the article.
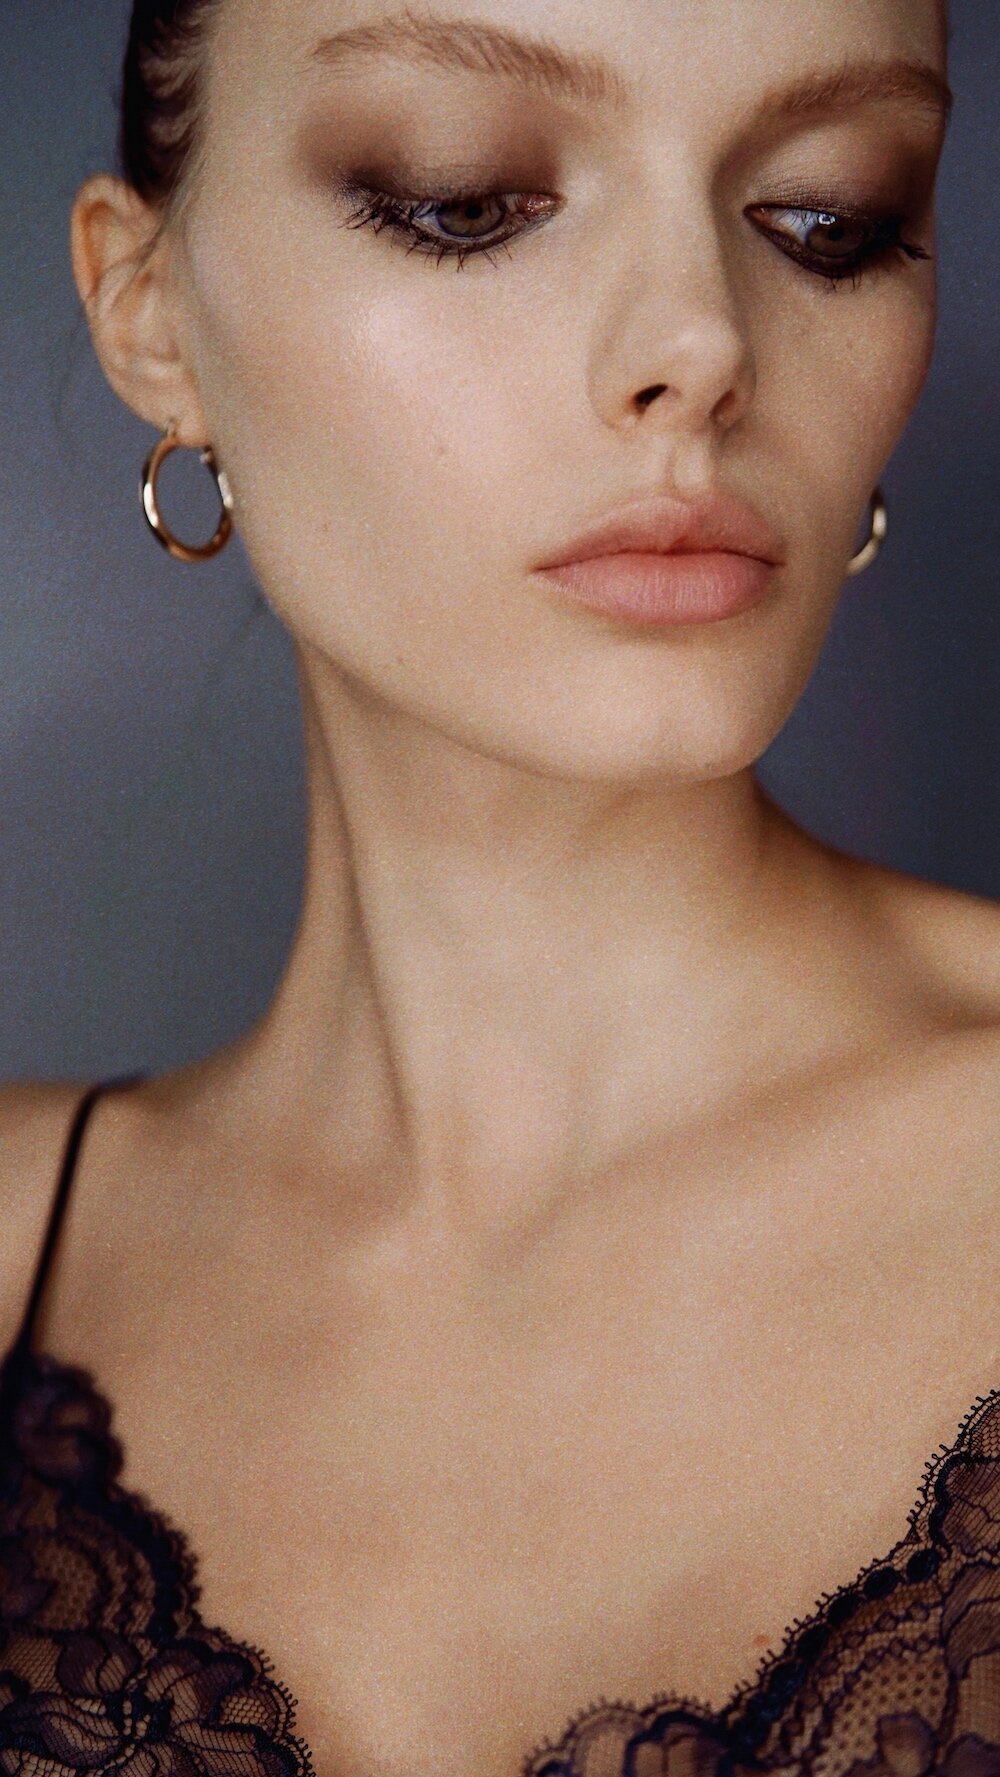
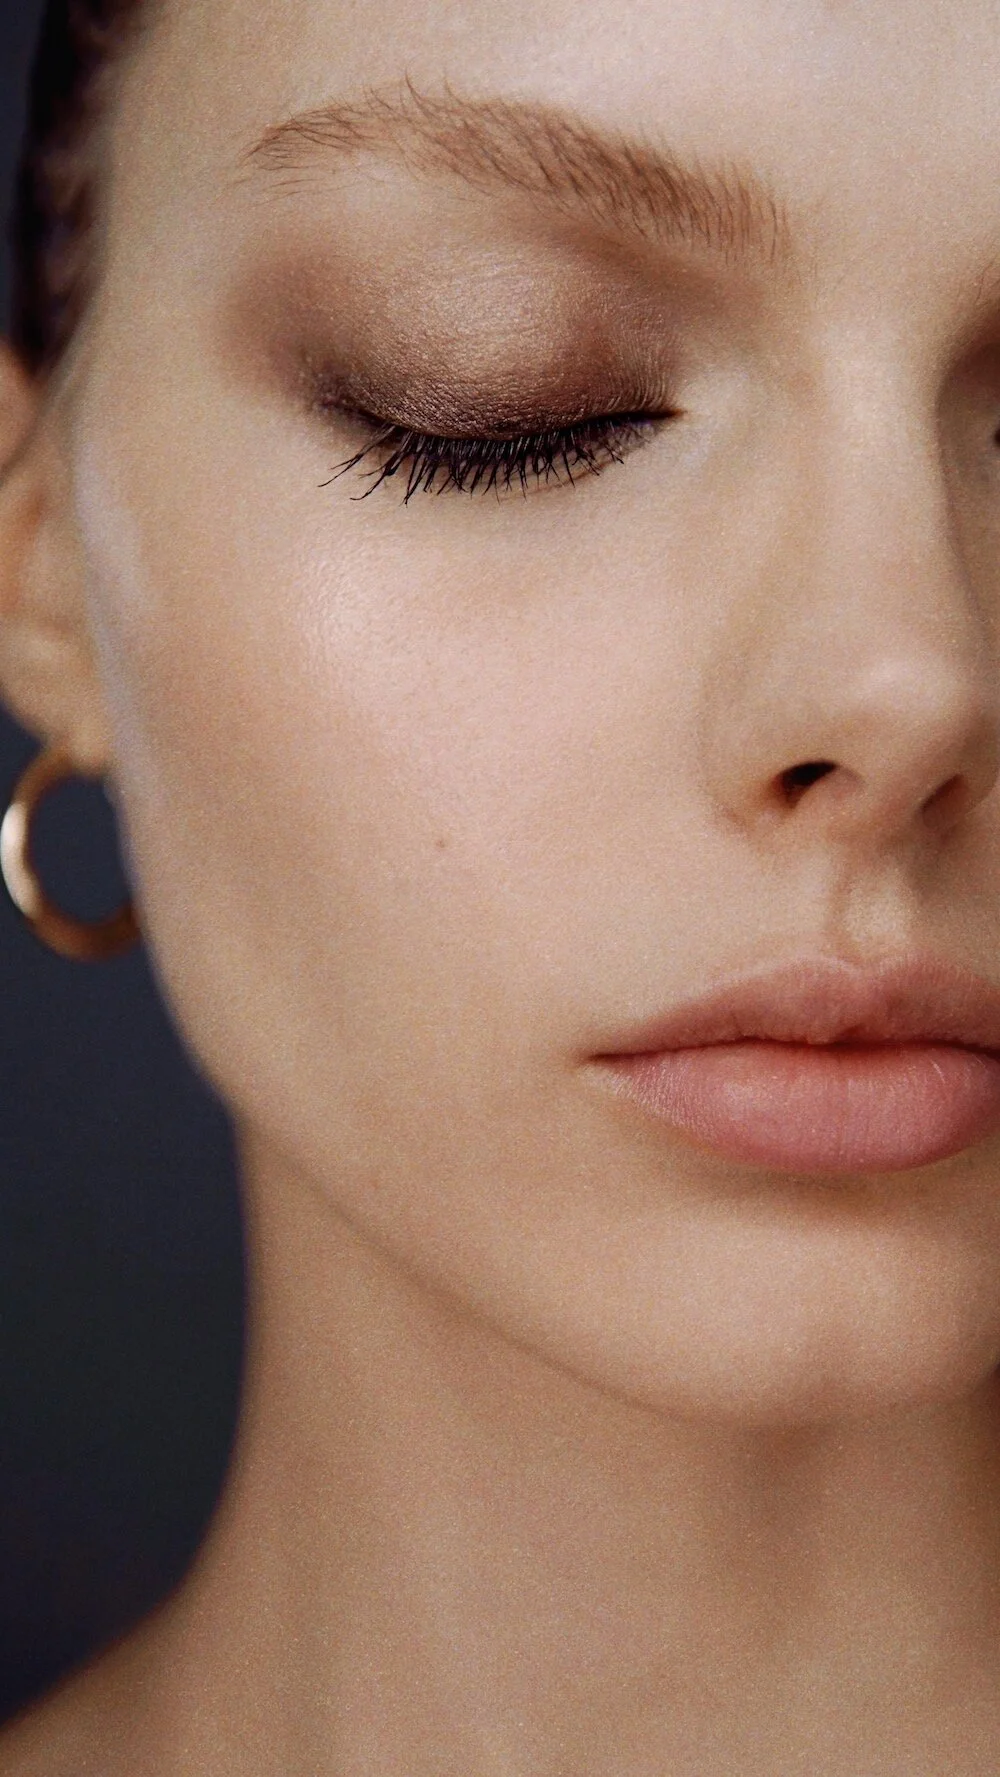
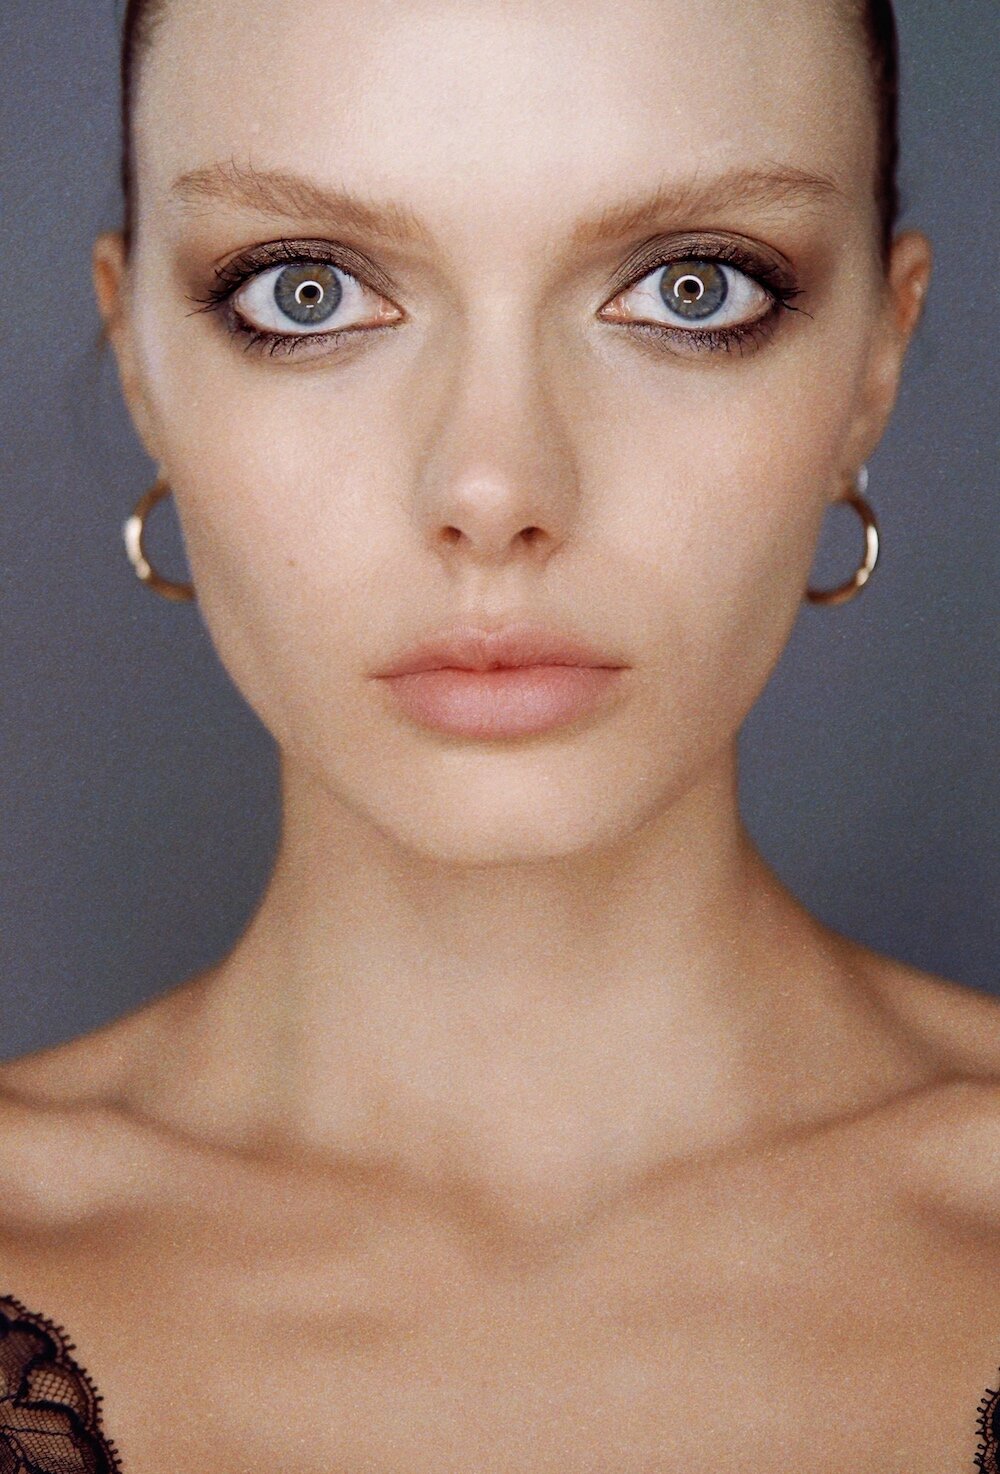


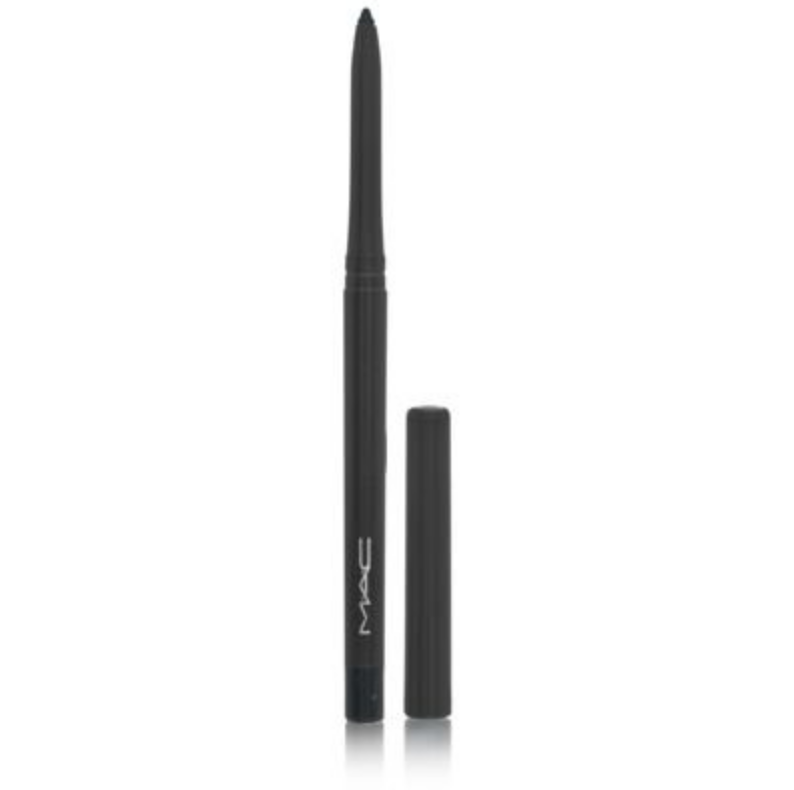
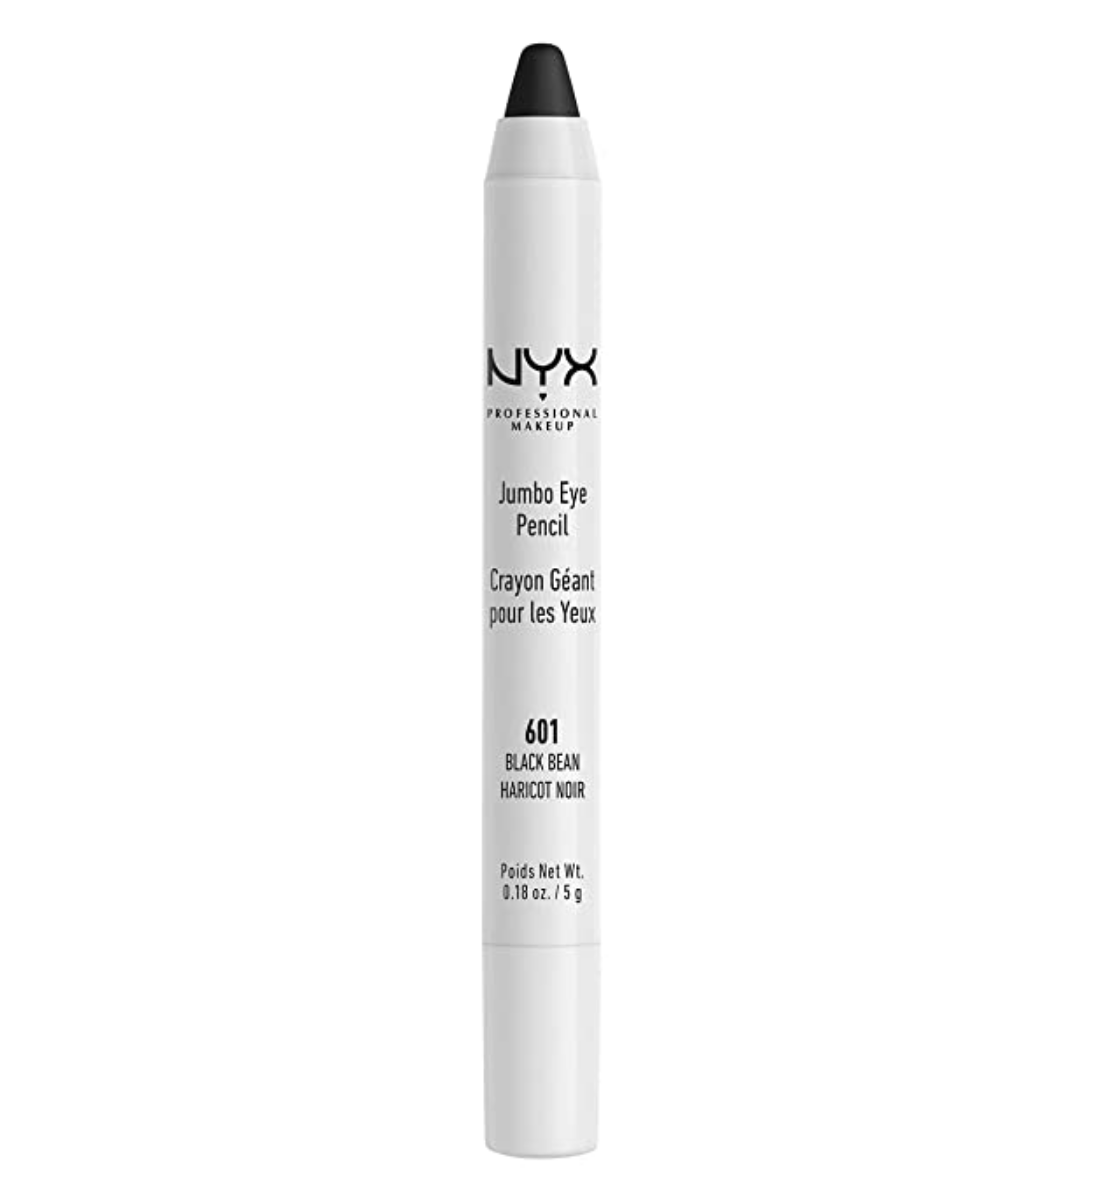
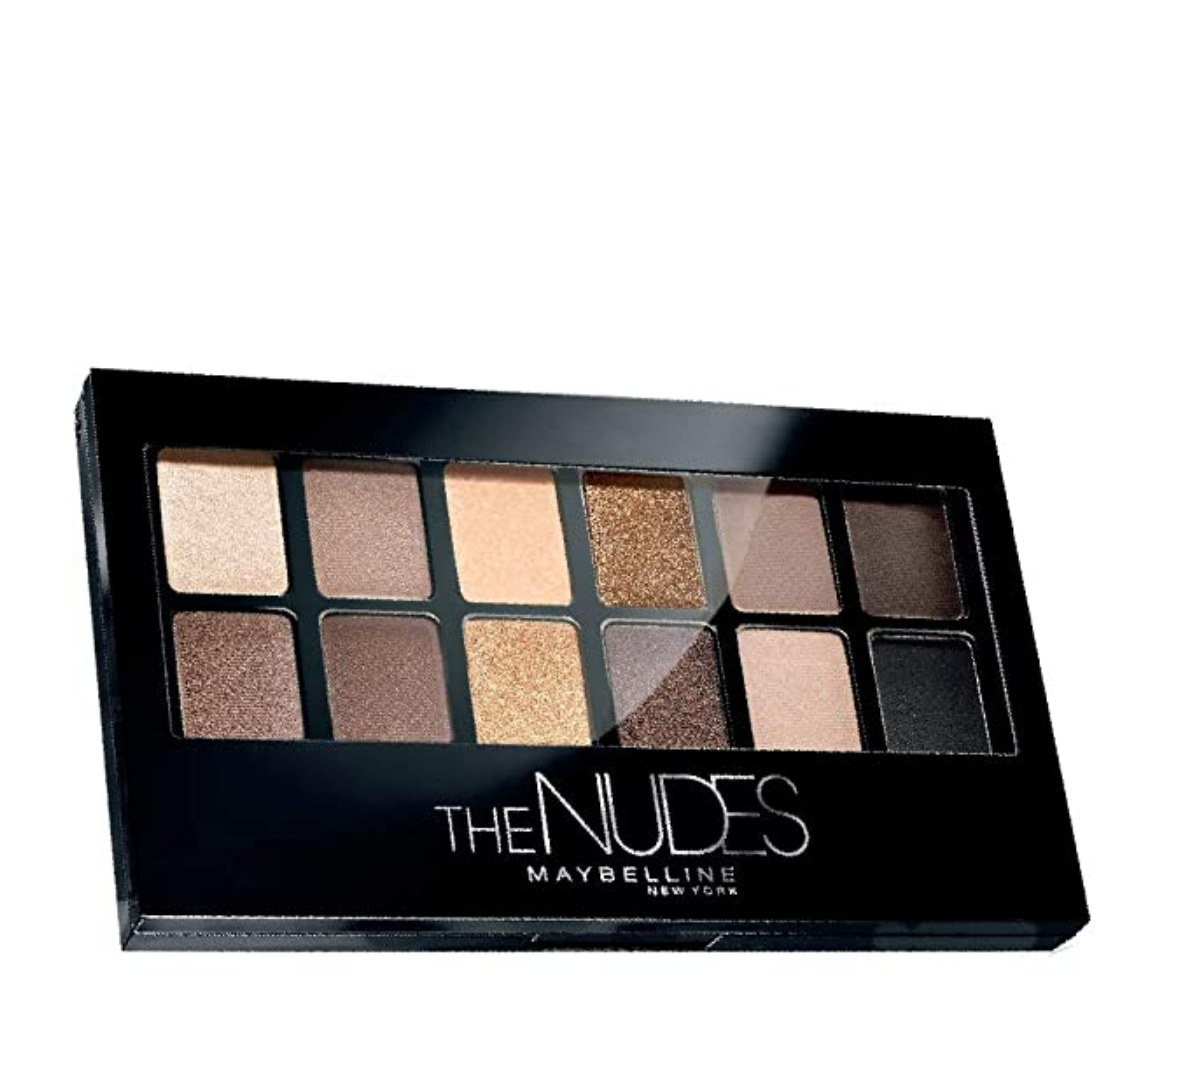
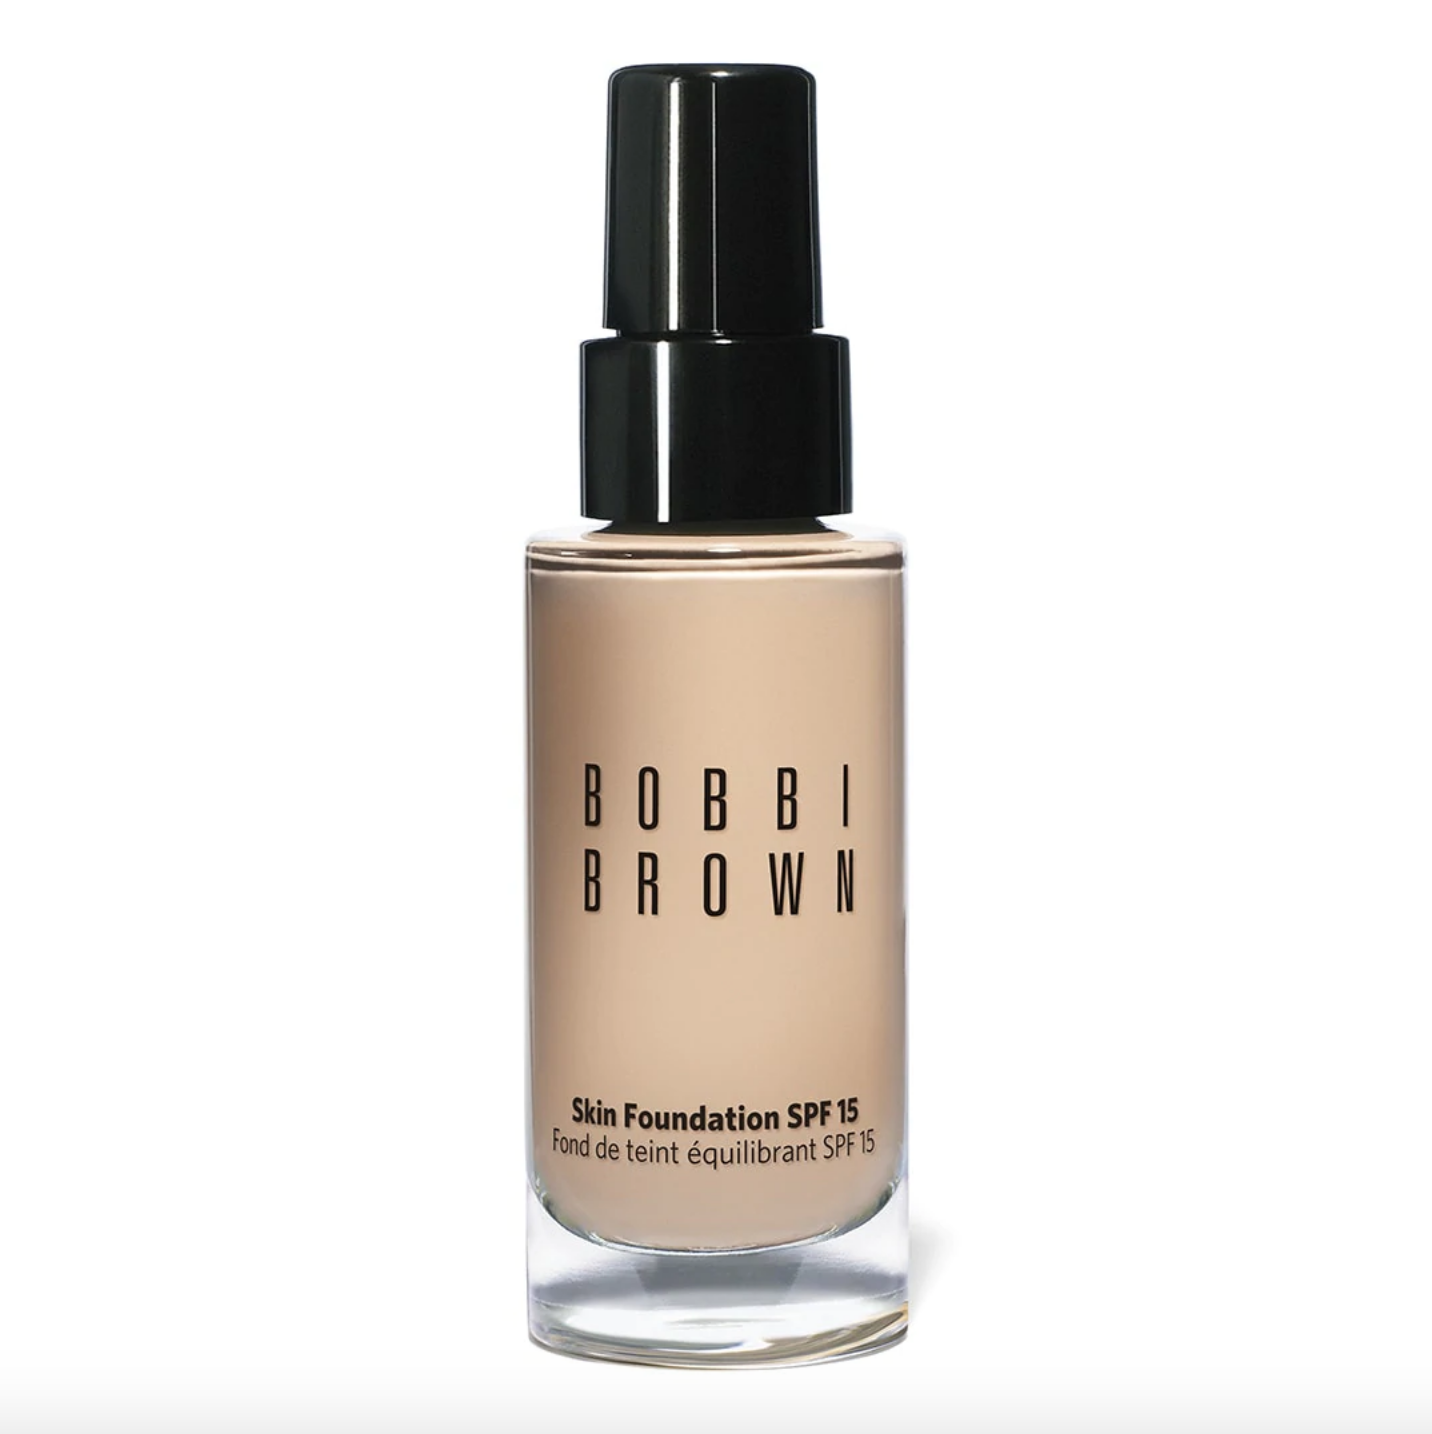
If you want to do this look too, here are the steps to recreate it: first, apply some translucent powder or skincolor eyeshadow on your eyelids (again, it’ll help to blend everything smoother). Then, use an eyeliner pencil and draw a line all around the eye, you should also make sure you go in between the lashes and you can go a bit in the waterline for a deeper look. Then you’ll take a small, dense brush and take a black eyeshadow and blend it with your black liner and make everything smooth. Next, you’ll want to clean that brush quickly with a tissue (remember, you don’t have to be precious haha!) and load it with a lighter color (we used brown but you could use colors as well) and go on the upper eye lid, a little above the black and blend everything, creating a nice faded blend of colors. Finally, you’ll take an even lighter color, and this time you’ll come and blend even higher, on the lower side of the eye as well. Now you should have a beautiful look already!! But it’s time to clean up, use your foundation/BB cream, concealer, blush and/or bronzer, and highlighter. Again, find all the products we used at the end of this article, and I hope you enjoyed the look :)!
All this would not have been possible without Alex trusting me to experiment something new, and helping me with the art direction for the editing as well, so make sure to check her work and stay tuned because there' will be more collaboration between us.

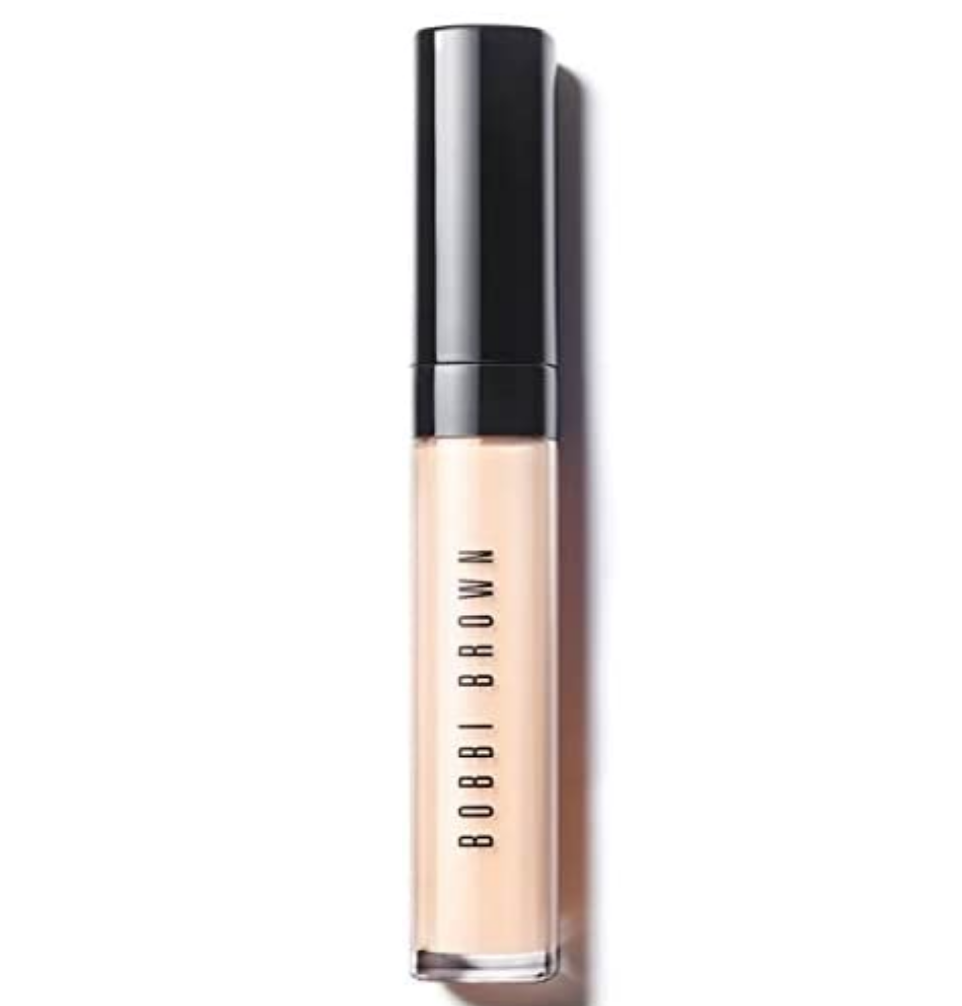
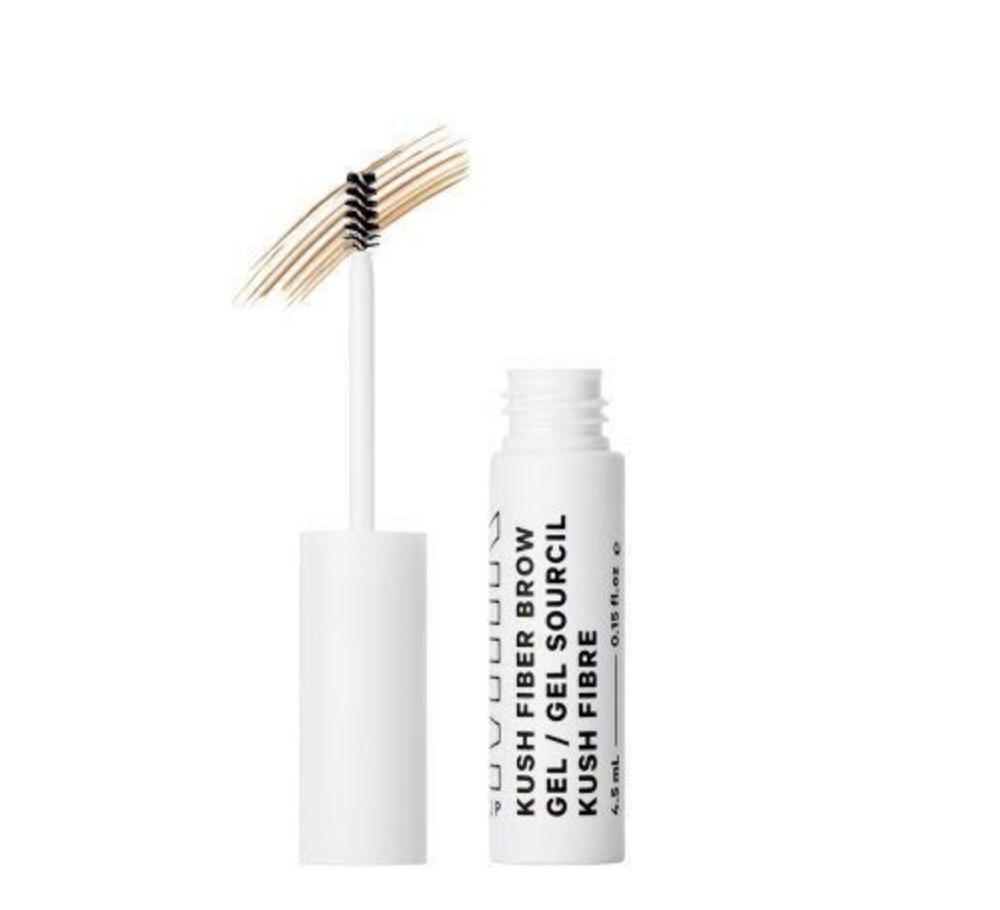
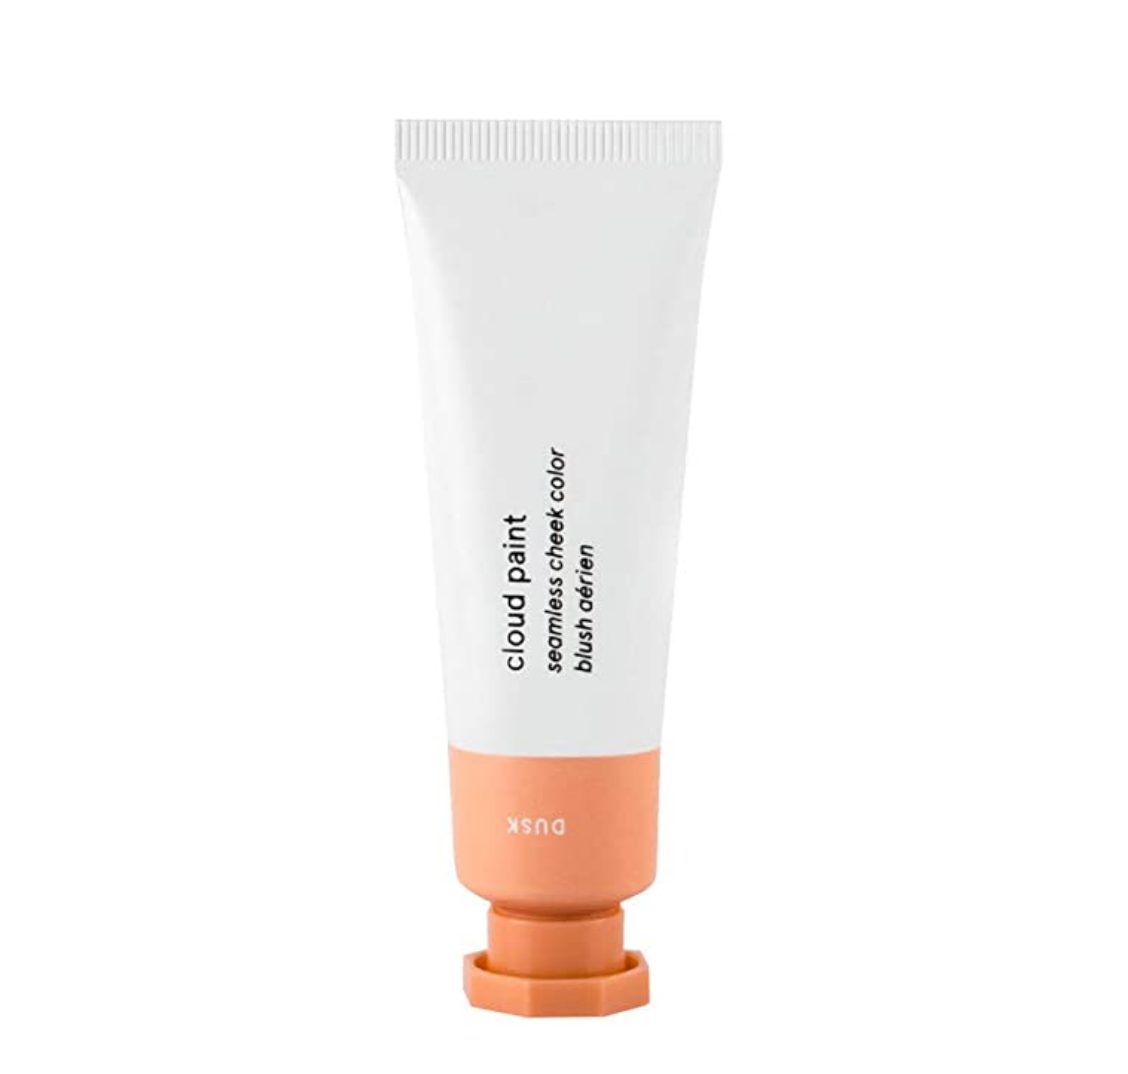
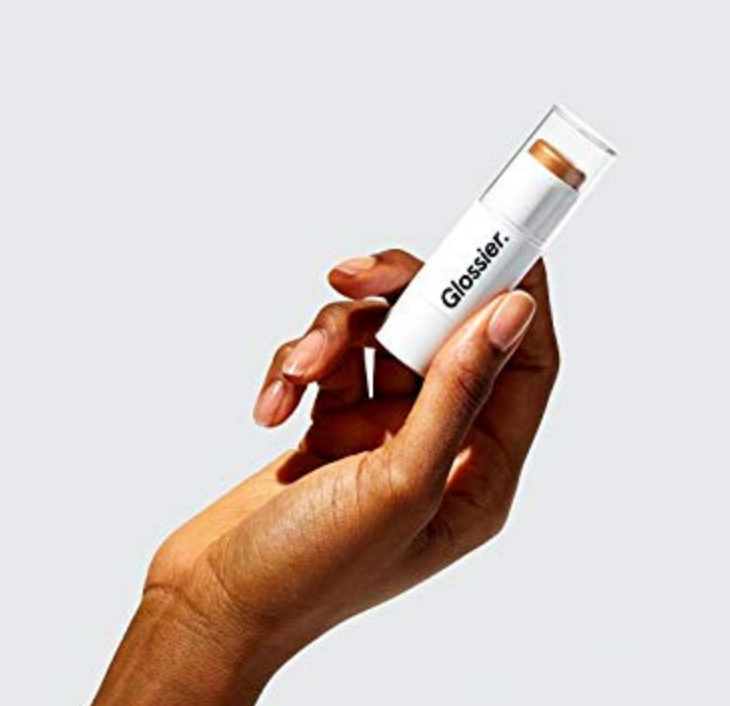
Shop the look
You can use either liner honestly, both would work great as you need to blend it, but for this look we used the mac.